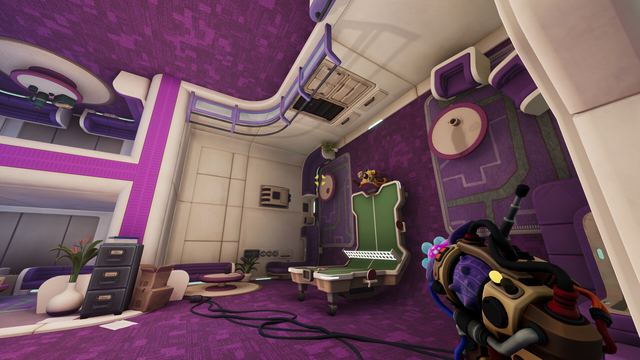
Optics lab: laser and crystal puzzle
Pingosius Crystalis, then Rupium, then Cattonimus, then the Master Emitter. Skip the red room, never use a crystal twice, and check the specimen rather than the order when the emitter rejects you.
The answer
Send the beam through three crystal specimens in this order, then into the Master Emitter:
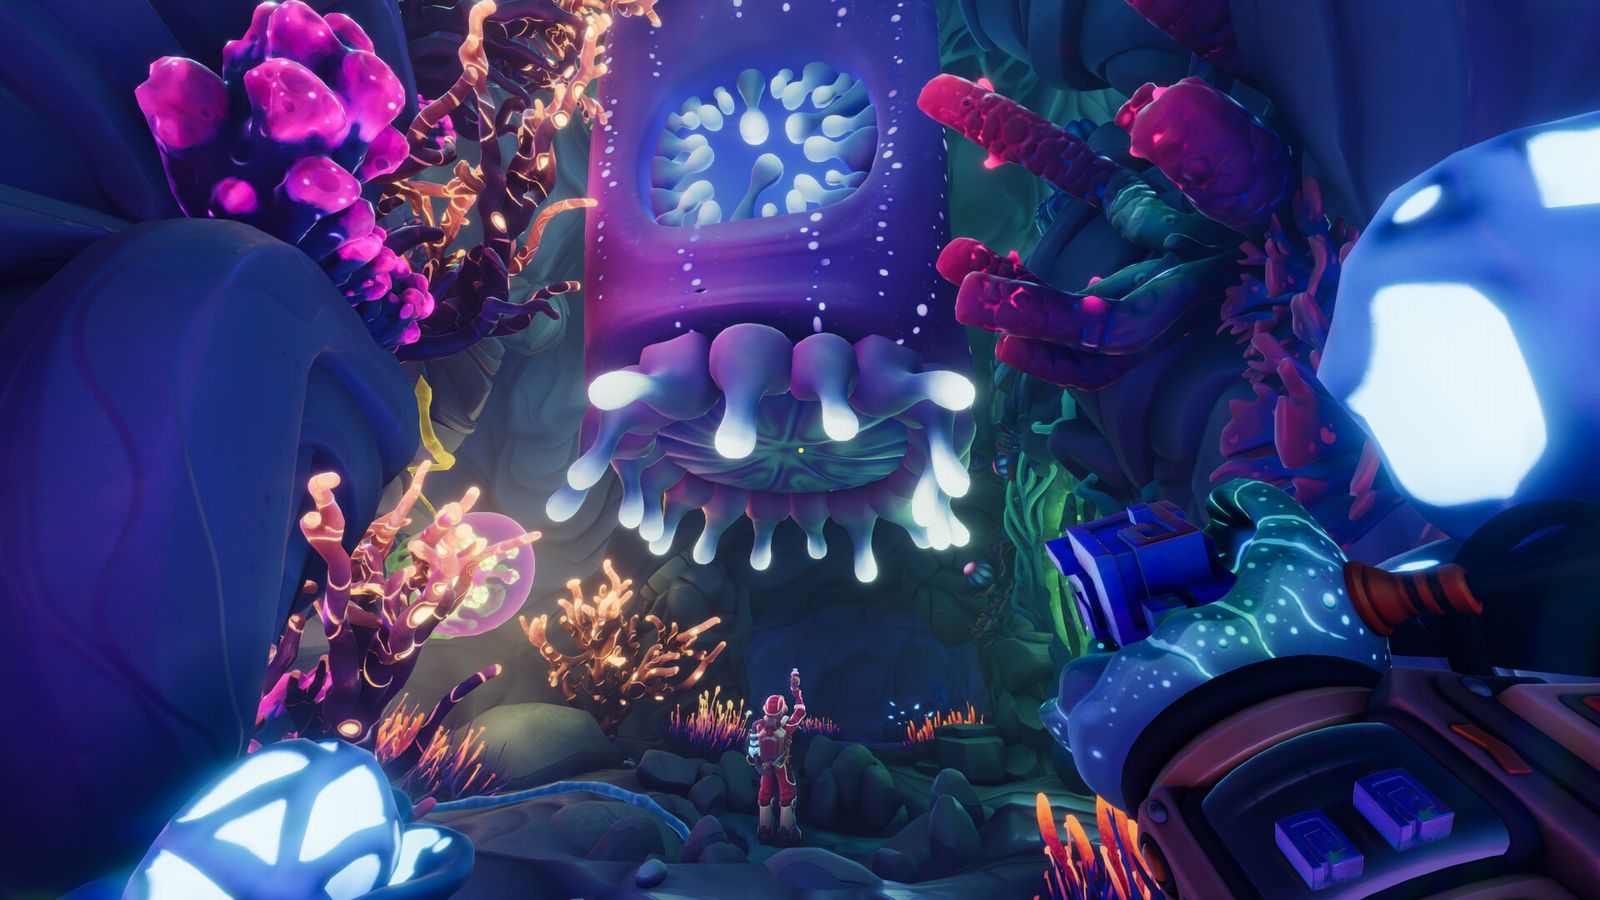
- Pingosius Crystalis — the spiky specimen with small round growths on top, in the yellow-lit room
- Rupium — the smooth egg cluster in the turquoise room; the beam leaves it green
- Cattonimus — the middle crystal rock directly under the Master Emitter
Do not route the beam through the red room, and never pass it through the same crystal twice in one attempt.
Both of our sources agree on that order and on the three names. If the emitter still reports a wrong configuration after the third crystal, the problem is almost always a lookalike specimen rather than the order — see below.
Where this puzzle sits
The optics lab is inside the Temporal Research Centre, past the corridor where the two of you are split by crystal doors. The clue board is titled THE NATURE OF THE CRYSTAL SUBSTRATES and sits next to a Norček message terminal; it lists Rupium, Cattonimus and Pingosius Crystalis with a one-word descriptor each.
The descriptors are the part people skip. Pingosius Crystalis reads as mirror or piercing, Rupium as serene or stabilising, Cattonimus as fiery or heating. They are not flavour text — they are how the board tells you which of six similar specimens is meant.
The three lookalikes that fail the check
The catalogue contains specimens whose names differ by a syllable and whose silhouettes differ by a bump:
| You want | Do not take | How to tell |
|---|---|---|
| Pingosius Crystalis | Pingosso Crystallo | The real one carries extra rounded growths along the top edge; the decoy is smooth |
| Cattonimus | Cattonimo, Cattonium | Three spellings sit next to each other in the catalogue; check the full name letter by letter |
| Rupium | — | The egg cluster is the only smooth specimen in the set; if it looks crystalline, it is wrong |
A beam that reaches the receiver with the wrong specimen installed still triggers Wrong Crystal Configuration, which is why pairs assume the order is wrong and start over. The order is usually right. The rock is usually wrong.
Routing the beam room by room
The beam has to physically pass through each specimen, so the route is a path problem before it is a symbol problem:
- Yellow room. Install Pingosius Crystalis in the mount, then find the reflector that turns the beam toward the turquoise corridor. One of you can see the receiving aperture from the upper walkway; the other cannot.
- Turquoise room. Rupium goes here, and the beam comes out green. If the beam is still white, the specimen is seated but not turned — check the mount before you move on.
- Under the Master Emitter. Cattonimus sits in the rock cluster in the centre. The final angle into the emitter is set from the side console, not from the specimen mount.
- The red room stays empty. It exists to tempt a shortcut and will absorb the beam.
Never double back through a crystal you have already used: a second pass reads as an invalid configuration even when the sequence was correct up to that point.
If the emitter still says the configuration is wrong
Run these in order — each one accounts for a failure we have seen described, and each takes under a minute:
- Re-read the clue board. It is static in the runs we have, but the message terminal beside it is not; if the board has changed, the order changes with it.
- Check each mount from the far side. A specimen that is installed but rotated 180° looks seated from the operator's side.
- Clear the red room. A stray reflector left in the red room keeps a second beam alive, and the emitter counts both.
- Reset the room. Both of you use your reset levers at the same time, then reinstall from the first specimen rather than continuing from the third.
Where this was checked
Two independent sources, both dated 21 October 2026: a written walkthrough that lists the same three specimens with the same descriptors, and a timestamped no-commentary playthrough that shows the beam entering the emitter after Cattonimus. The order has also been described the same way in a second video. We have not seen a run where the board itself changes, so treat the sequence as fixed until a patch says otherwise — build checked: 1.1.2, 23 October 2026.
If your board shows different names, the method still holds: read the descriptors, take the specimen the board calls mirror, then serene, then fiery, and skip the room with no descriptor at all.