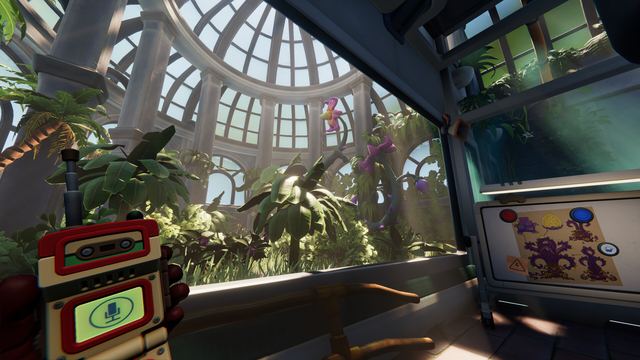
R&D generator and cable route
GEN, then psi 01, 04, 02, 03, 06, sigma 04, 03, 01, 02, psi 08, theta 03, delta 02, 03, lambda 02, 03, 01, and finally psi 07. That single chain satisfies all three batteries.
The answer
The R&D power network is one fixed chain. Activate the modules in this order:
GEN → Ψ01 → Ψ04 → Ψ02 → Ψ03 → Ψ06 → Σ04 → Σ03 → Σ01 → Σ02 → Ψ08 → Θ03 → Δ02 → Δ03 → Λ02 → Λ03 → Λ01 → Ψ07
In words: psi 01, 04, 02, 03, 06; sigma 04, 03, 01, 02; psi 08; theta 03; delta 02, 03; lambda 02, 03, 01; psi 07.
The chain passes every module the three batteries ask for — Ψ02, λ03 and Θ03 — and finishes at Ψ07, which is the terminal that feeds them. Two written sources and one timestamped video agree on this route, and all three agree that the module layout is the same in every playthrough.
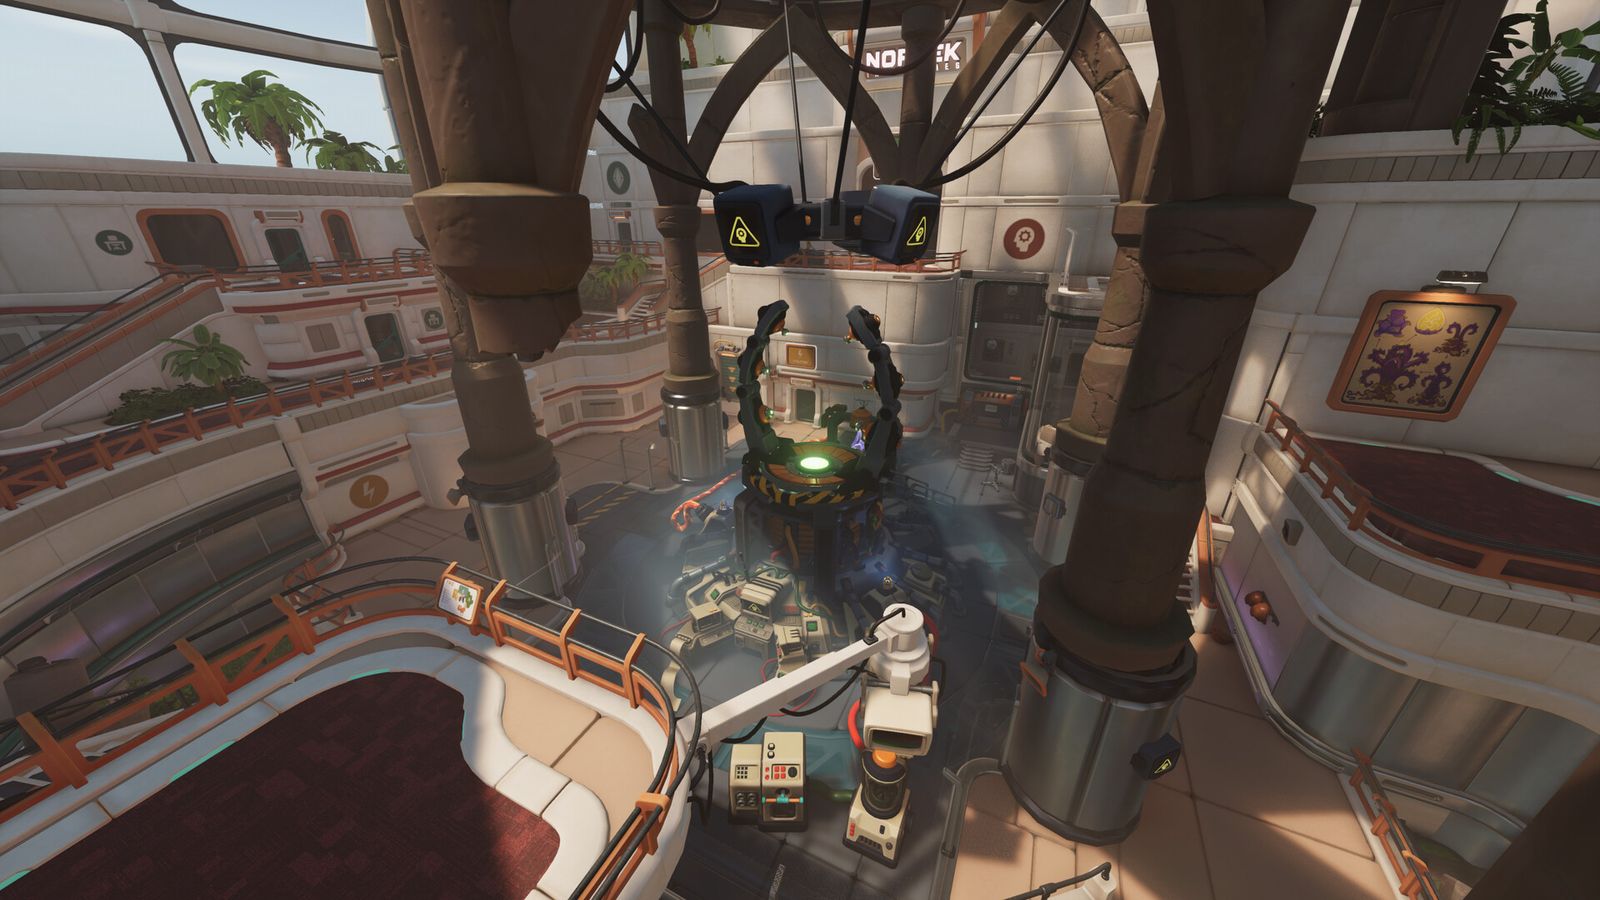
The other cable puzzle, in case that is what you wanted
There are two cable puzzles in the game and they get searched as one. If you are in the prototype room in Chapter 2, with no Greek letters anywhere, you want the glove training puzzle:
- Red cable: weigh down the pressure plate.
- Yellow cable: shoot the wall button.
- Blue cable: put a cube on the high target — climb the cube step, then shoot from the ledge.
- Green cable: opens the door once the other three are lit.
The rest of this page is the R&D network in Chapter 4.
How the chain actually works
Three rules explain almost every failure:
- Power flows from the last module you activated. You cannot jump to a module because it is glowing.
- Blue means live, yellow means spent. A yellow module has already done its job; a blue one can still pass power onward.
- A wrong module is an error, a wrong branch is a dead end. Pressing something disconnected costs you nothing. Following a cable into the wrong sub-chain costs you the run.
If the chain breaks, both of you pull your reset levers at the same time and start again from GEN. Do not try to walk it back — the network does not have a reverse.
What the three batteries want
The battery wall states its requirements on the terminals themselves:
| Battery | Modules it requires |
|---|---|
| First | Ψ02 |
| Second | Ψ02 and λ03 |
| Third | Ψ02, λ03 and Θ03 |
The route above satisfies all three in a single run because it passes Ψ02 near the start, Θ03 in the middle and λ03 near the end, then terminates at Ψ07. Three yellow cables run down from Ψ07 to the three batteries, which is how you can tell the last terminal is the one that matters.
The route in chunks, so you can check where you lost it
| Stretch | Modules | What it opens |
|---|---|---|
| 1 | GEN, Ψ01, Ψ04, Ψ02, Ψ03, Ψ06 | First battery, and the route upward |
| 2 | Σ04, Σ03, Σ01, Σ02 | Σ03 opens the red access route, Σ02 the green one |
| 3 | Ψ08, Θ03 | Second and third battery requirement |
| 4 | Δ02, Δ03 | Δ03 opens the blue access route |
| 5 | Λ02, Λ03, Λ01, Ψ07 | Third battery requirement, then the terminal that feeds all three |
If a module will not accept input, you are almost certainly in the wrong stretch rather than on the wrong module. Check which door is currently open, then work out which stretch that door belongs to.
The twenty-terminal variant
A second route exists and reaches the same Ψ07 terminal by a longer path through the Theta and Delta sections:
GEN → Ψ01 → Ψ04 → Ψ02 → Ψ03 → Ψ06 → Σ04 → Σ03 → Σ01 → Σ02 → Ψ08 → Θ03 → Θ02 → Θ04 → Δ05 → Δ04 → Δ03 → Λ02 → Λ03 → Λ01 → Ψ07
Use one route or the other. Mixing the Theta and Delta halves is the single most common way a pair ends up with a powered network and no valid next module.
Where this was checked
Three sources: a written walkthrough with both the short and the long route, a second written guide that independently states the Ψ02 / λ03 / Θ03 requirements and that the layout never changes, and a timestamped video showing the chain running to Ψ07. Build checked: 1.1.2, 23 October 2026. The two route variants were both re-read against the written sources on the check date rather than copied from one another.